Advanced Animation - Final Project

16/4/2020 - 21/5/2020 (Week 12 - Week 15)
Lee Yu Hui | 0335787
Advanced Animation
Final Projects
Final Project
For our final project, we are required to create a minimum of 30 seconds animation with full background and organized scenes.
Mr. Kannan gave us the exercise to act out scenes from movies of our choice, and I chose to work with a scene from Frozen 2.
Acting scene comparison with Frozen 2
From the acting exercise, I noticed that I became more observant towards the gestures and poses of the character. And that is why a lot of animators would act the scene out before they start to animate the character. I definitely learned a lot through this exercise and I also think that this is actually a great practice for animators.
For the final project, Mr. Kannan gave us a rocketgirl rig that we could use as the main character for the final project. I initially wanted to use the scene from Frozen 2 as the animation reference, however upon looking at the rigged character, I changed my mind.

Character rig in Maya
I thought that since the character is a girl in a spacesuit, it'll be nice to have the character being involved in a space-like scene. I decided to go to YouTube and look more animation references, and I happen to stumbled upon a 2D animation that I think would suit the character.
Reference video I found on YouTube
With the video reference I found online, I decided to redraw the storyboard and change some of the scene angles to put my own flare into it.

Storyboard #1

Storyboard #2

Storyboard #3

Storyboard #4
Mr. Kannan's feedback to me was that there are too many close-ups in the scenes, and I should try to play with more camera movements and angles to make it looks more interesting.
Since my animation is around 50 seconds, that meant that I have more scenes and shots to work with. Thankfully I only need to work on the parts that are needed for the scene, and I don't have to animate the parts that won't appear in the screen.
I started of by doing the blockouts in Maya. I separated them into 14 files in total.

Blocking out in Maya
The first part of the animating process is to get the blockout poses and the timing right. I took a while trying to figure out the character's rig because it was much more complicated than the previous ones.
After I'm done with the blockout, I proceed to playblast them and compile them in Premiere Pro.
Animation blockout
Mr. Kannan didn't really have much complaints about the blockout, he just asked me to keep in mind of the timing and make sure that the timing is right for the animation.
After the blockouts is done, I proceed to work on the in-betweens for the animation. Animating the in betweens is actually much more harder than making the blockouts as this is where we need to start to pay attention to how the character move frame by frame, and we need to make use of the graph editor to make the animation look smoother. During the process, I had trouble animating the walk cycle as I couldn't manage to make it look natural.
Animation with in betweens
After showing Mr. Kannan the in betweens that I did, he gave me suggestions to improve the animation. He asked me to tweak some of the movements and add in anticipation into the animation.
After amending the animation like how Mr. Kannan suggested, I started to think about the environment and setting up the scene. I decided to look for a spaceship model online and place it into the scenes, and I'll make the background in After Effects since my scene takes place outdoors in a large open space.
It took me a while to look for the right spaceships as I need to make sure that the model is compatible with Maya and that it has already comes with texture. Nevertheless, I manage to find one that I think would work quite well with the scene.

Spaceship model that I found online
With the spaceship model found, I imported it into the scenes and replace it from the cube that I placed in each scenes before. After I'm happy with the placement, I started to play around with the lighting of the scene before I export it out.

Playing with lighting in Maya
I tried to make the lighting slightly yellowish as I thought it'll have a nice cinematic look to it. It took me a quite a while to adjust the lighting for each scenes as I have to adjust it individually for each scenes. I also have to adjust the render settings for each scene before I export it out as I have to render it as PNG sequence to get the transparent background.

Exporting as PNG sequence
After that's done, I can finally move on to After Effects. Since I plan to have the scene being in a desert like place like the ones from the reference video that I found, I started to look for background images online. Below are some of the images that I used for the background:

Background image #1
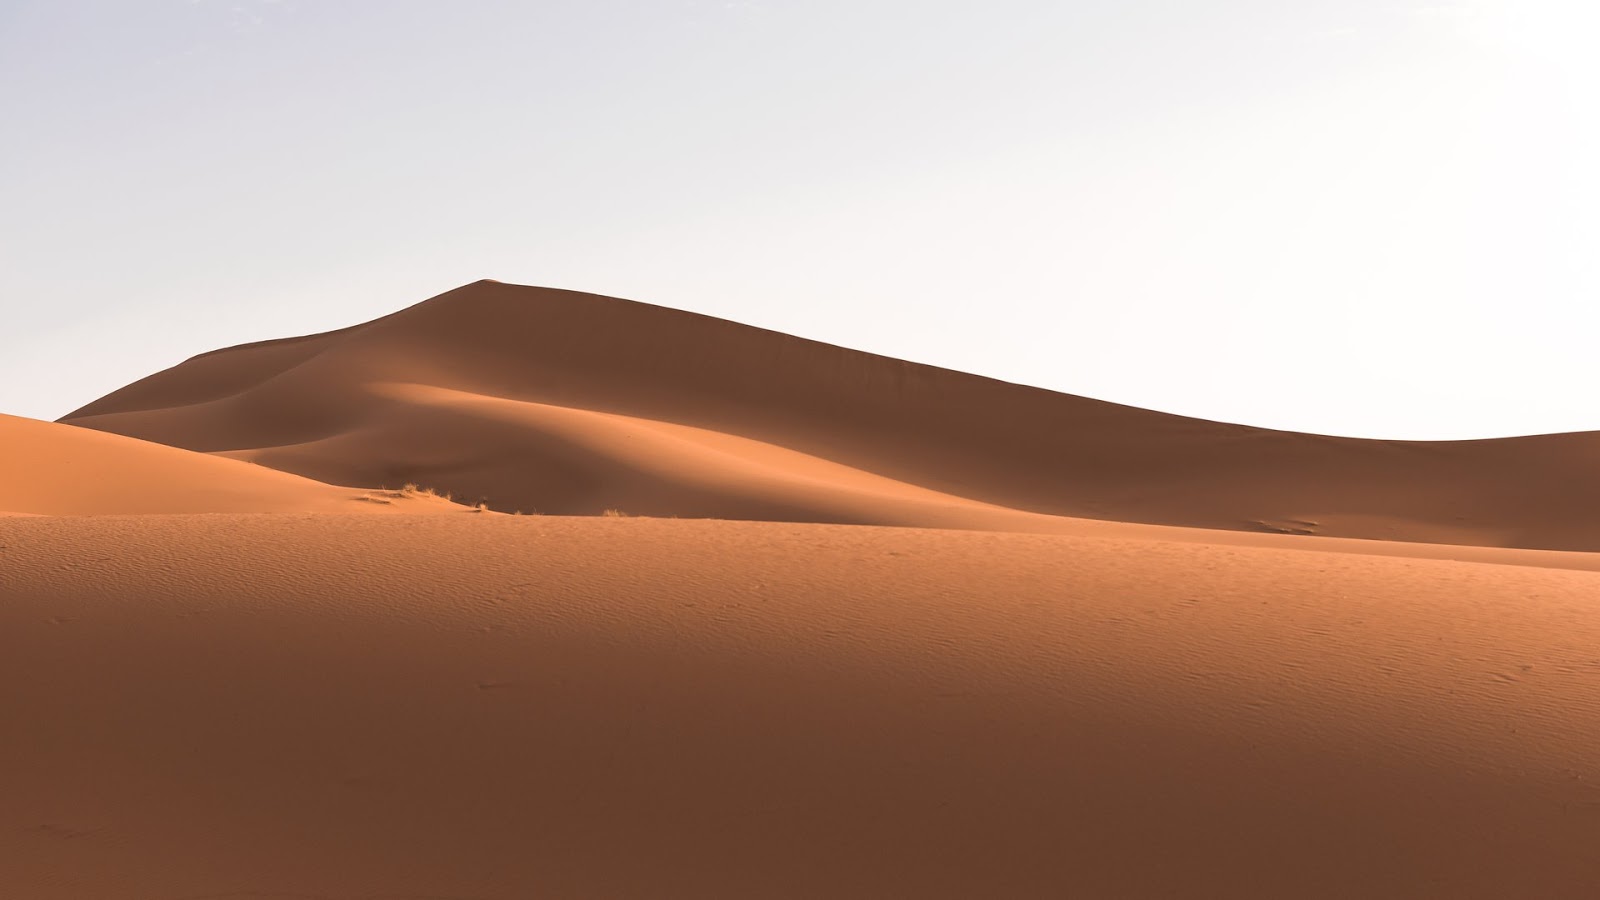
Background image #2

Background image #3
I masked out the images and edited them in After Effects. I also played around with the colors in the scene to make it look more realistic.

Adding in background in After Effects
After I got done with the environment setup, I export and compiled them as a whole video.
Animation with background
After I'm done compiling, I send it over to Mr. Kannan to review. He suggests that I could play around more with the depth of field and the colors as well. He also mentioned that the ending scene looked a bit abrupt and I should add one more scene to end it.
After making the necessary adjustments, this is my final outcome of the project:
Final Outcome


Comments
Post a Comment